Some years ago one of my work colleagues shared some amazing quilts that she had made for her family members. These were true heirloom pieces and had taken months to create; each one reflected the person they were designed for.
When I learnt that I was going to have a granddaughter I imaged how amazing it would be to create a family treasure for her. When I was contemplating the project, I decided that it was important to incorporate contributions from family and friends.
First things first, I had to decide what type of quilt I would create; based on the available time until her birth (less than a month) and my quilting ability (which was zero) I decided on a patchwork front, a plain backing and duvet inner.
How could others contribute? Originally I envisaged backing the quilt using a recycled woollen blanket however considering this was summer, I decided on a duvet inner. Having already sourced a blanket, I changed my approach and came up with the idea of using squares of the blanket as the basis of how others could contribute. My plan was to send a square of the blanket to friends and family as part of the baby shower invitation, requesting everyone to be inspired.
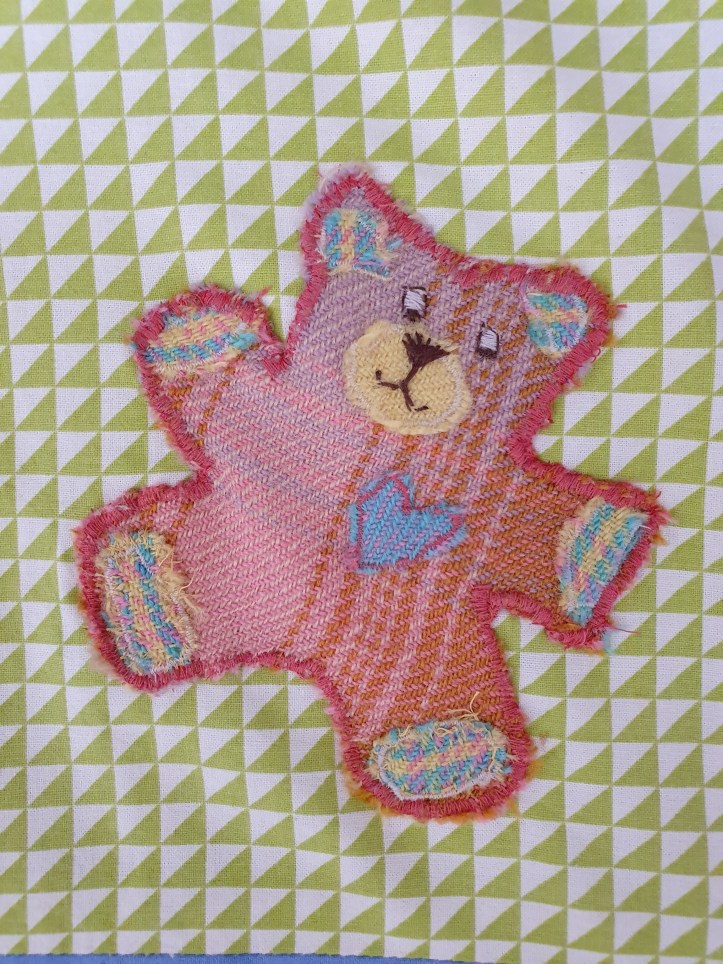
Please create something out of this scrap of blanket so that Gran can incorporate it into an heirloom quilt. Take the blanket, cut out your chosen shape (heart, star, teddy, duck, angel, animal, anything) then add some stitches or buttons or leave it plain, the choice is yours. The finished treasure should fit into the size square of the invitation (15x15cm). Please bring it along to the baby shower. Gran is hoping that the love and laughter that you put into this will be multiplied tenfold within the quilt for our little girl.
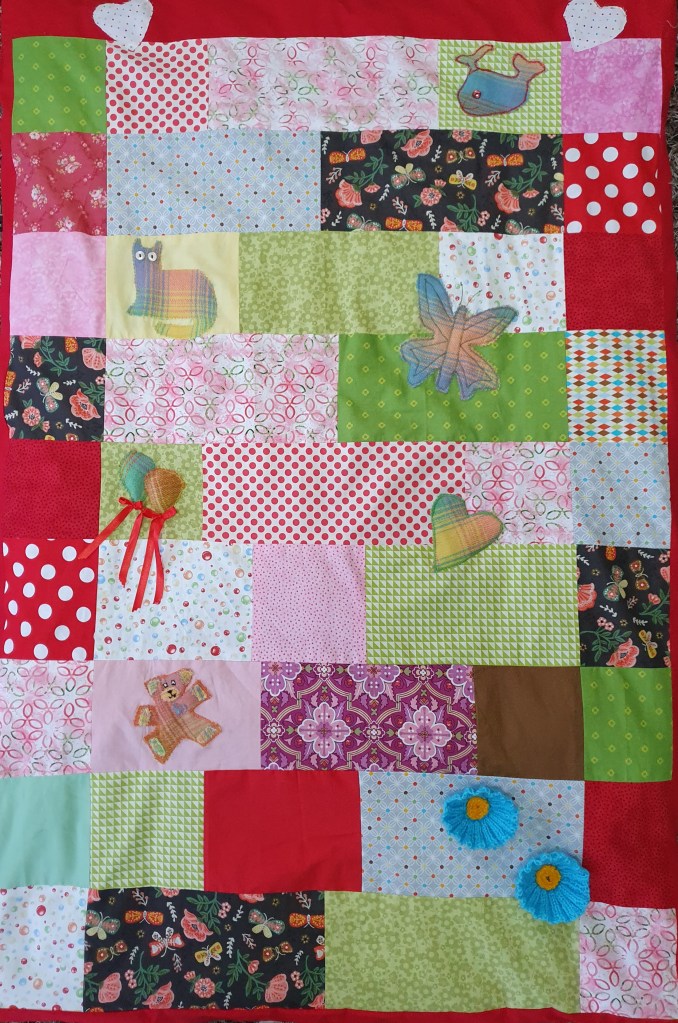
On the day of the baby shower, I was overwhelmed by the amazing creations and it was such a gift to be able to adorn their love and hard work into the quilt. Those that couldn’t master the sewing machine used buttons or bling to brighten up their square. Someone knitted poppies and another person brought a pink hat and booties hand sewn onto a square.
That was five years ago and the quilt is still looking fabulous.
This months craft project: I decided to recreate a smaller version of the piece for a cot blanket, as a step by step to share.
Note: The quilt does take longer that you would expect, I spent approximately 20 hours on this cot blanket.
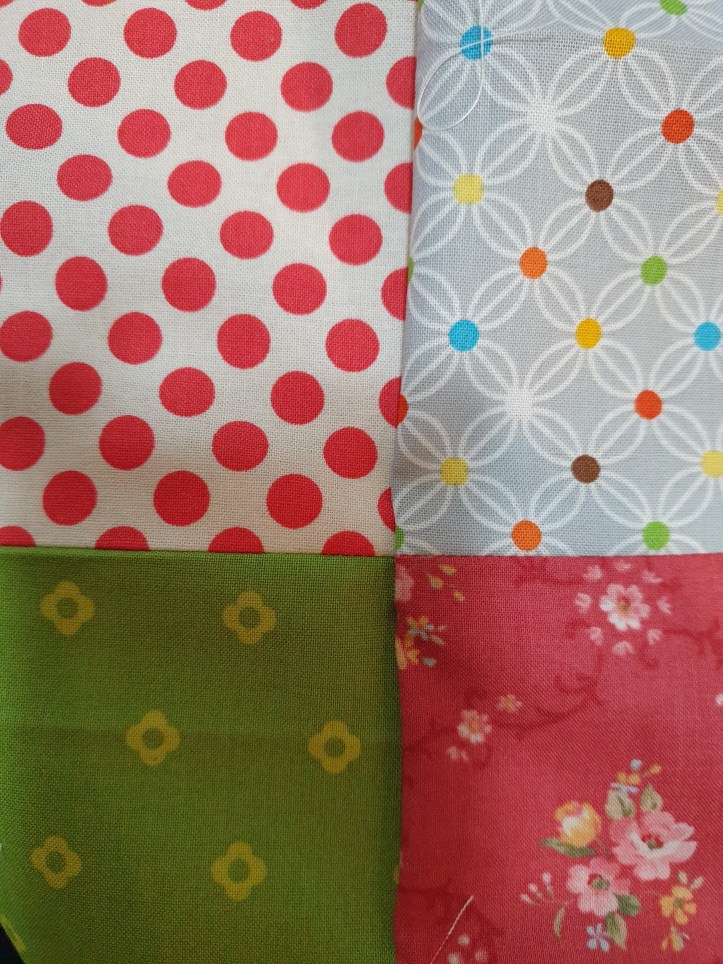
Step One: Select the material you want to use for the quilt. The colour and patterns that you can use are endless. Although patchwork material is available in standard squares and rectangles at your local sewing store, I found remnants cheaper and if you have a friend that sews, they often have lots of off cuts that they are more than happy to see used. Repurpose old clothing is another option; use your imagination.
Step Two: Decide on the pattern (if any) that you want for the quilt. Spend time laying out the material in the order that you think will work. This generally takes a few days of trial and error to get your desired look.
Step Three: Start sewing. Pin and sew the sections of the first line together (right sides facing each other) and ensuring you iron the seams flat once completed. Note: I used pinking shears as I don’t have an overlock machine and it reducing the amount of fraying.

Step Four: Repeat for the next line then, sew together. Take care to ensure that the lines met up correctly before sewing. Repeat until the desired length of the quilt is achieved.

Step Five: Adorn the quilt with the ‘blanket treasures’. I used a small zig zag stitch to sew the blanket sections onto the completed front of quilt.
Step Six: Add edging. Cut the side panels and iron the seam allowance; for my sides I had a width of 95cm (excluding the seam allowance). Sew one edging onto each side of the front of the quilt.
Join the back to the front at the sides to form a tube shape (open top and bottom) . I used one piece of material for the back which was not as long or as wide as the patchwork front, so the edges on the back are wider.
Sew the top strip to both sides of the top of the pocket. Sew one side of the bottom strip, then turn out so that the right sides are visible.
Insert the duvet inner and hand stitch the remaining seam. How you stitch the corners is dependent on if the size of the front and back match, I did mine by hand.
Step Seven: Reflect on you hard work. Enjoy the hard work and your friends treasures, many years of love and laughter to come.