Creativity is the combination of imagination and finding solutions, turning ideas into reality. Seeing the possible, using your talents and making something with passion and commitment. Creativity doesn’t have to be complicated or expensive, however the accomplishment that you feel when you have completed the task can be monumental and if that task is a gift for someone else, the joy that you have shared turns creativity into pure gold.
In 2013 Disney released Frozen, a movie inspired by a Hans Christian Anderson fairy tale the ‘Snow Queen’. If you had a daughter, granddaughter or niece during that year you will be intimately aware of the movie, Anna and Elsa merchandise was everywhere and the soundtrack ‘Let it go’ became an anthem.
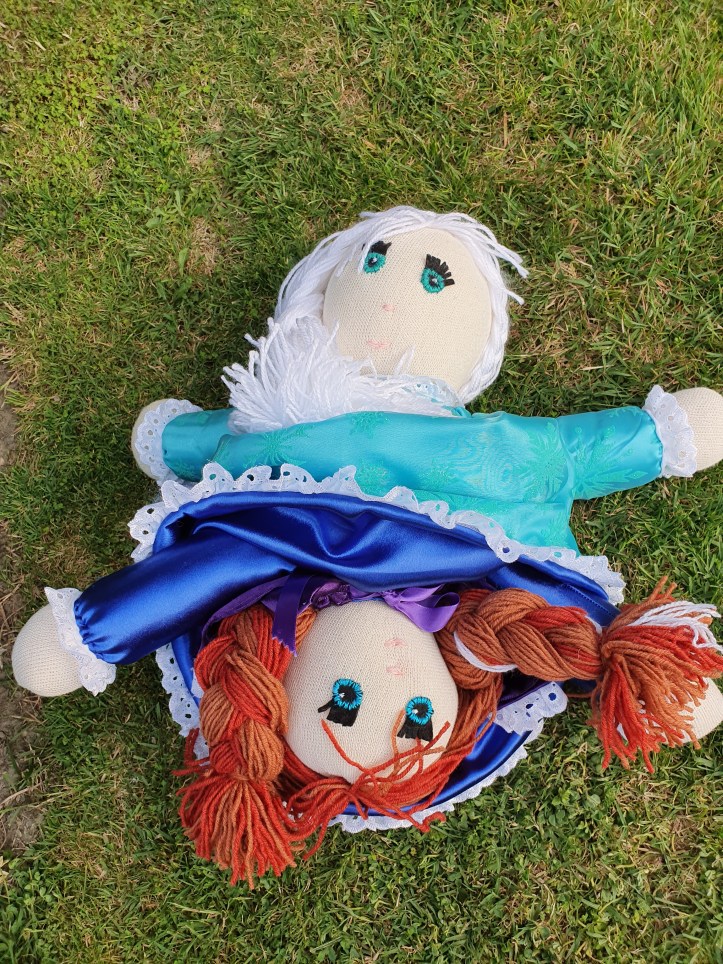
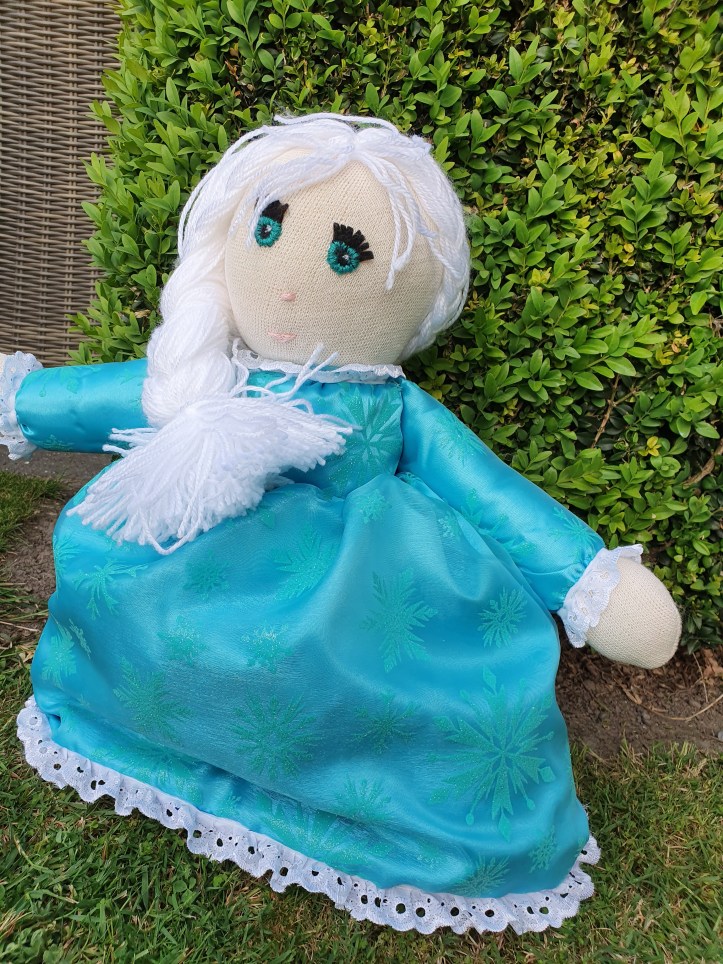
My granddaughter was besotted with the movie so for Christmas that year I made her a Frozen Topsy-Turvey Doll (an original twist on Jean Greenhowe’s Topsy-Turvy Doll found in her 1988 book Favourite Dolls and Toy’s).
The joy on my granddaughters face when she say Elsa followed by the look of wonder when she realised that she had two dolls in one was priceless, she absolutely loved it and six years on it still has pride of place amongst her many toys.
With Frozen2 about to be released I thought I would make another one and share the process so that it might inspire others to take a risk and become creative; I realise this does not come naturally to everyone. It doesn’t matter what you create, it is the journey that counts. This is a guide only, the original Topsy-Turvy instructions along with other basic rag doll or pyjama cover dolls can be found in Jean’s book.
It is my intent that this will inspire you to think outside the box, colour outside the lines and use your creativity and passion to bring joy to the little people in out lives.
This months craft project: This project does take a longer than you would expect and requires both machine and hand sewing, I spent approximately 30 hours.
Step One: Cut a 38cm section of stockinette, make a tube by sewing the long edges and gather the ends, stuff and tie two tapes to create the two heads, 13cm away from gathered edge.

Step Two: Cut a fabric strip of each doll 8x30cm, sew together and fit to bodice, gather and trim at the neck edge.
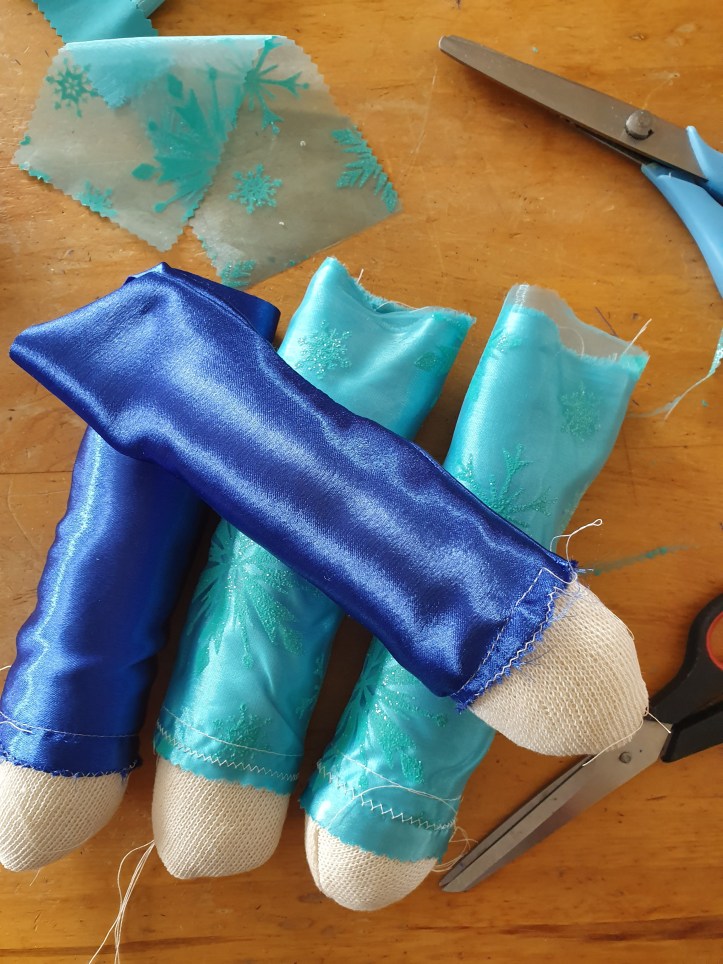
Step Three: Make four arms 19cm long from double thickness stockinette and stuff. Cover with 16x17cm material and gather at wrists.
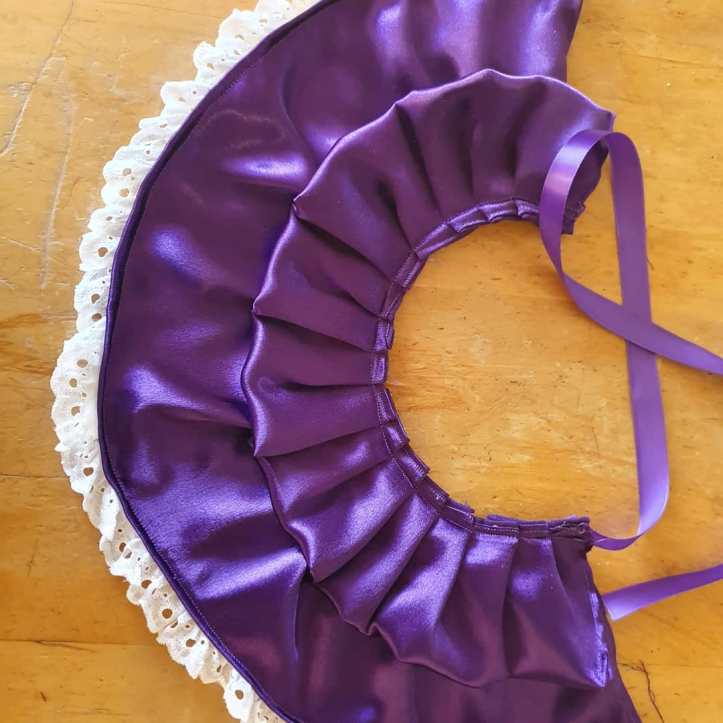
Step Four: Make the dress, 30x91cm, join the edges enclosing a strip of lace edging between the long seam. Gather the top edges and fit to the bodice at the waist. I also created a cape for Anna.
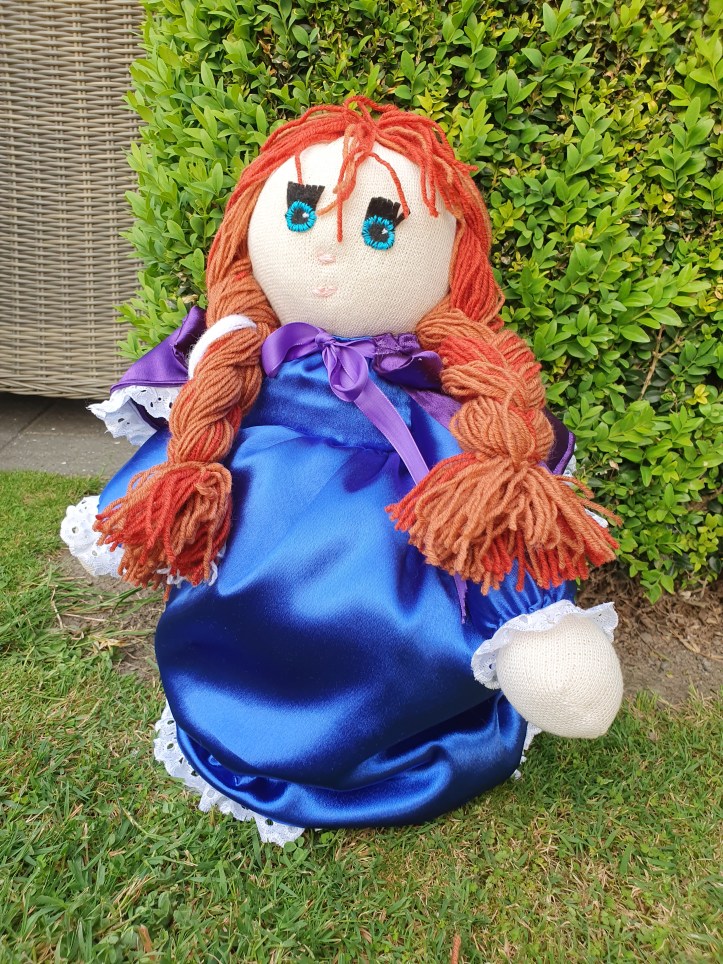
Step Five: Create the hair and face to your liking.